Part 2: Ingredients and Tools

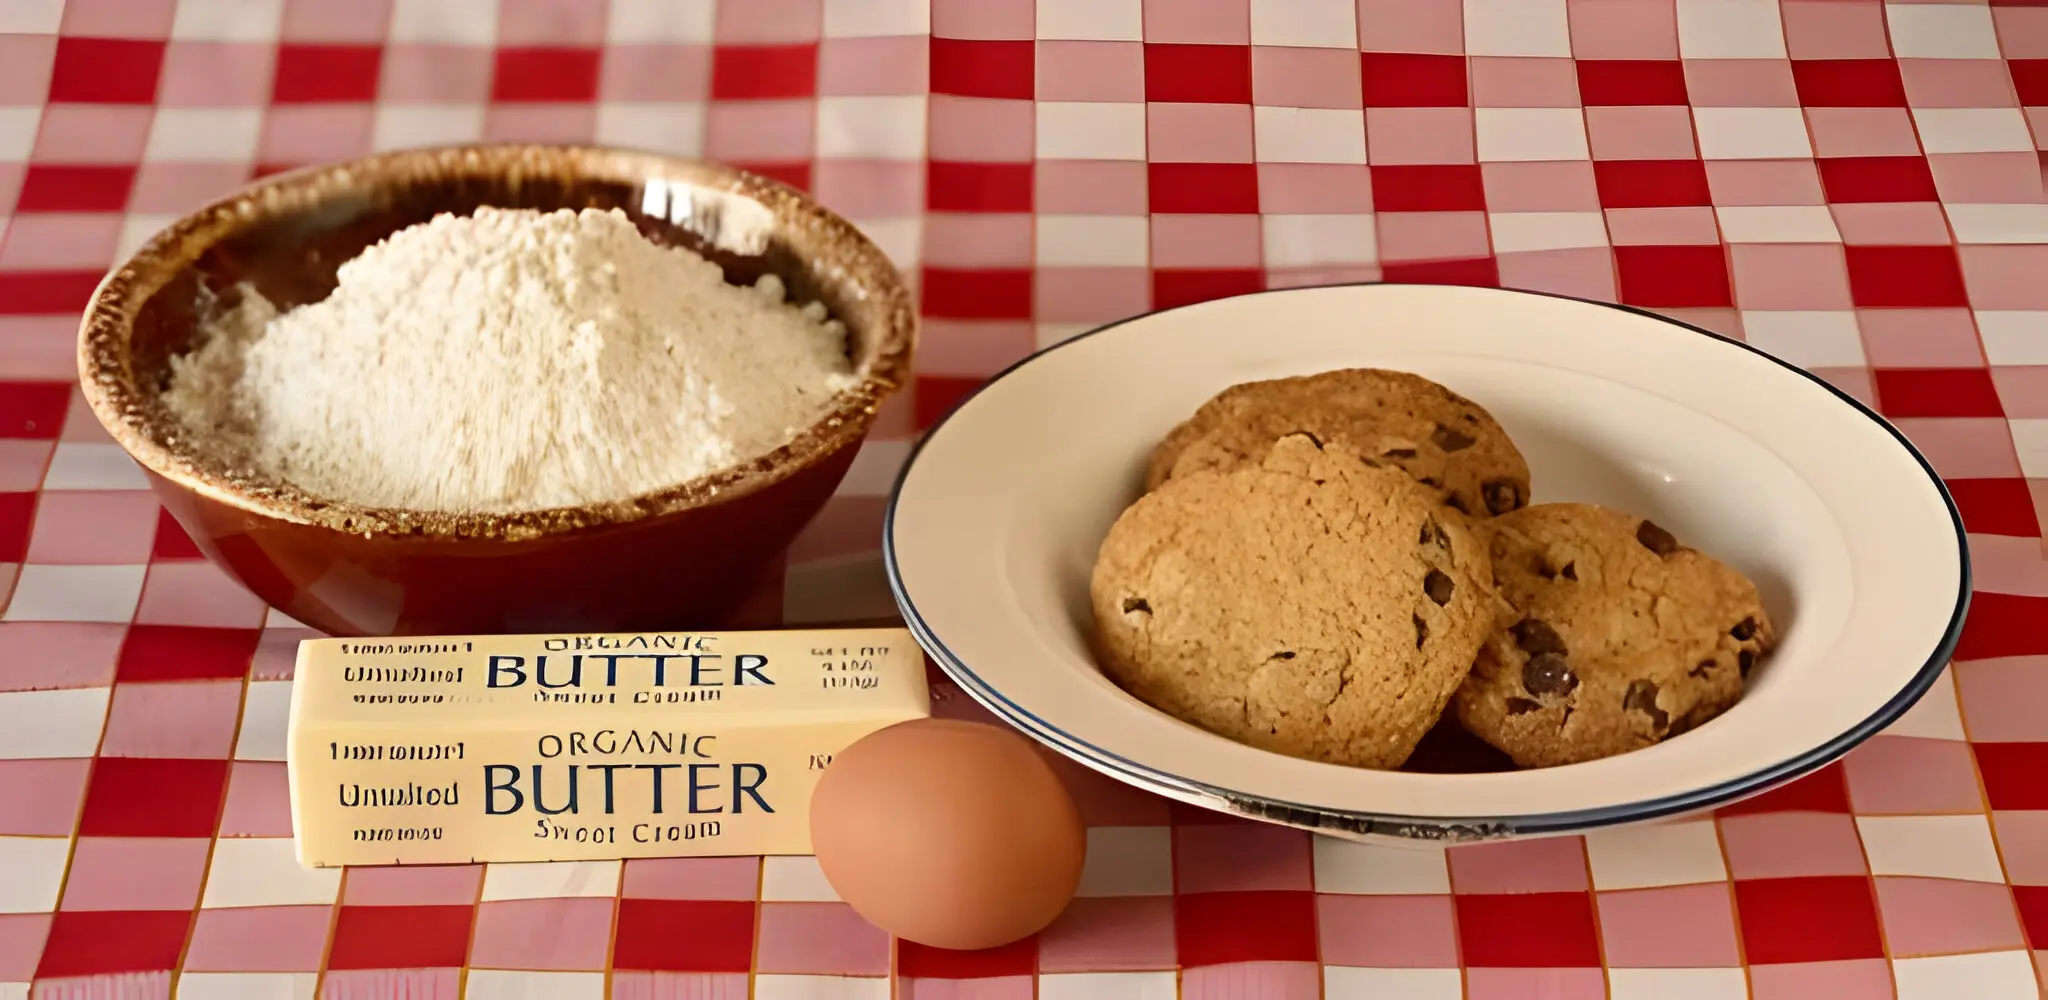
Before we dive into the heart of baking Toll House Cookies, it’s crucial to round up all the necessary ingredients and tools. Having everything at hand will not only streamline your baking process but also ensure that your cookies turn out perfect every time. Let’s get into the essentials for your cookie baking adventure.
Key Ingredients for the Perfect Toll House Cookie
- Flour: The base of our cookie dough. Use all-purpose flour for best results, ensuring it’s measured accurately for the right dough consistency.
- Baking Soda: This acts as a leavening agent, giving our cookies their beautiful rise and texture.
- Salt: A pinch of salt enhances the flavors of the other ingredients, balancing the sweetness of the dough and chocolate.
- Butter: Use unsalted butter at room temperature to achieve that rich, buttery flavor and tender texture.
- Sugars: A combination of white and brown sugar gives the cookies their signature chewy texture and caramel-like flavor.
- Eggs: Eggs bind the ingredients together and add moisture, contributing to the cookies’ structure.
- Vanilla Extract: A splash of vanilla adds depth and warmth to the dough, enhancing the overall flavor profile.
- Chocolate Chips: The star of the show! Semi-sweet chocolate chips are traditional, but feel free to experiment with different types of chocolate based on your preference.
Alternatives for Dietary Restrictions
- For gluten-free options, substitute all-purpose flour with a gluten-free flour blend.
- Dairy-free butter and chocolate chips can be used to cater to vegan or lactose-intolerant diets.
Must-Have Baking Tools
- Mixing Bowls: You’ll need at least two bowls to separate dry and wet ingredients before combining them.
- Measuring Cups and Spoons: Precision is key in baking, so ensure you have a full set for accurate measurement.
- Electric Mixer: A hand or stand mixer makes creaming the butter and sugars together a breeze.
- Baking Sheet: A flat, unrimmed baking sheet will give your cookies enough space to spread out evenly.
- Parchment Paper or Silicone Baking Mat: These prevent the cookies from sticking and ensure easy cleanup.
- Cooling Rack: Allowing the cookies to cool on a rack prevents them from becoming soggy by letting air circulate underneath.
Gathering your ingredients and tools is the first step in the journey to baking perfect Toll House Cookies. With everything in place, you’re now ready to embark on the baking process, where precision meets creativity. Stay tuned as we dive into the art of preparing the dough, shaping, and baking these iconic treats to golden perfection in the following sections.
Part 3: The Recipe Step by Step

Diving into the heart of baking Toll House Cookies, let’s break down the process into manageable steps. This phase is where the magic happens, transforming simple ingredients into delectable treats that warm the soul. Follow these steps carefully to ensure your cookies are nothing short of perfection.
Preparing the Dough
- Preheat your oven to 375°F (190°C). This ensures your oven reaches the ideal temperature for baking by the time your dough is ready.
- Whisk the dry ingredients. In a medium bowl, combine 2 1/4 cups of all-purpose flour, 1 teaspoon of baking soda, and 1 teaspoon of salt. This mixture will be folded into the wet ingredients later, creating the perfect dough texture.
- Cream the butter and sugars. In a large bowl, use your electric mixer to beat 1 cup (2 sticks) of softened unsalted butter with 3/4 cup of granulated sugar and 3/4 cup of packed brown sugar until the mixture is creamy. This process introduces air into the mix, making your cookies light and fluffy.
- Add eggs and vanilla. Beat in 2 large eggs, one at a time, followed by 1 teaspoon of vanilla extract. Each egg should be fully incorporated before adding the next, ensuring a smooth batter.
- Combine wet and dry ingredients. Gradually blend the dry ingredients into the wet mixture. Do this in increments, mixing on low speed to avoid overworking the dough, which can lead to tough cookies.
- Stir in the chocolate chips. Fold in 2 cups of semi-sweet chocolate chips with a spatula or wooden spoon. This is also the perfect time to add any nuts or other mix-ins if you’re customizing your batch.
Shaping and Baking
- Prepare your baking sheets. Line your baking sheets with parchment paper or silicone baking mats to prevent sticking and ensure an easy release.
- Scoop the dough. Using a cookie scoop or spoon, drop rounded tablespoons of dough onto the prepared baking sheets. Space the cookies about 2 inches apart to allow room for spreading.
- Bake in batches. Place one sheet at a time in the preheated oven and bake for 9 to 11 minutes, or until the edges are golden brown but the centers are still soft. This results in cookies that are crispy on the edges and chewy in the middle.
- Cooling. Allow the cookies to cool on the baking sheet for 5 minutes before transferring them to a wire cooling rack to cool completely. This slight cooling period on the sheet helps the cookies set without becoming hard.
Following these detailed steps will help you bake Toll House Cookies that are sure to impress. Remember, the key to perfect cookies lies in the balance of following the recipe closely while also putting your unique spin on it. Whether you stick to the classic recipe or venture into custom variations, the joy of baking and sharing these delightful treats is what makes the Toll House Cookie a timeless classic.
Part 4: Tips and Tricks
Achieving the perfect Toll House Cookie is an art that comes with its own set of secrets and techniques. Whether you’re aiming for cookies that are chewy, crispy, or somewhere in between, these tips and tricks will help you tailor your baking process to get your desired outcome every time.
Secrets to Chewy vs. Crispy Cookies
- For Chewy Cookies: The key to a chewier cookie is more moisture. Achieve this by adding an extra egg yolk to your dough. The fat in the yolk lends moisture to the dough, making your cookies softer and chewier. Additionally, using more brown sugar than white sugar can contribute to a moister, denser texture, as brown sugar contains molasses, which adds moisture and a slight acidity that reacts with the baking soda for a softer texture.
- For Crispy Cookies: If you prefer your cookies with a bit more crunch, reduce the amount of brown sugar and increase the white sugar. White sugar spreads more during baking, leading to thinner, crispier edges. Another trick is to bake the cookies a minute or two longer than the recipe suggests, but be careful not to overbake them. The longer they stay in the oven, the more moisture evaporates, resulting in a crispier texture.
Storage Tips for Freshness
- Cool Completely Before Storing: Ensure your cookies are completely cool before storing them. This prevents condensation inside the container, which can lead to soggy cookies.
- Airtight Containers: Store your cookies in an airtight container to keep them fresh longer. For added softness, you can place a piece of white bread in the container. The cookies will draw moisture from the bread, keeping them soft.
- Freezing Dough: If you prefer freshly baked cookies every time, consider freezing your dough. Scoop the dough onto a baking sheet as if you were going to bake them, but instead, place the sheet in the freezer. Once the dough balls are frozen solid, transfer them to a freezer bag. You can bake them straight from the freezer, adding a couple of minutes to the baking time.
- Reviving Stale Cookies: To revive cookies that have lost their crisp, pop them in the oven at 300°F (150°C) for 5-10 minutes. The low heat will help drive off excess moisture, bringing back some of their crunch.
Baking Toll House Cookies is not just about following a recipe; it’s about making it your own. With these tips and tricks, you’re well-equipped to adjust the recipe to your liking and achieve the perfect batch every time. Remember, baking is a science, but it’s also an art form where personal preference plays a significant role. Experiment with these techniques to discover your ideal cookie texture and make the classic Toll House Cookie recipe uniquely yours.
Part 5: Variations of the Recipe

One of the joys of baking Toll House Cookies is the versatility of the basic recipe. By introducing a few tweaks or additions, you can create a variety of flavors and textures, catering to every palate and dietary need. Here, we explore some creative variations that breathe new life into the classic recipe, making it even more inclusive and delightful.
Creative Variations
- Nutty Delight: For a crunchy texture and rich flavor, add 1 cup of chopped nuts like walnuts, pecans, or almonds to the dough. Nuts not only add a delightful crunch but also a depth of flavor that complements the chocolate chips beautifully.
- Double Chocolate: For the ultimate chocolate lover, substitute 1/4 cup of the flour with cocoa powder to make double chocolate chip cookies. The added cocoa enhances the chocolatey goodness, creating a decadent treat.
- Sea Salt Caramel: Mix in 1 cup of caramel bits along with the chocolate chips and sprinkle the tops of the cookies with a light dusting of sea salt before baking. The salt enhances the sweetness of the caramel and chocolate, offering a perfect balance of flavors.
- Holiday Spice: Add 1 teaspoon of ground cinnamon and 1/2 teaspoon of nutmeg to the dough for a warm, spiced flavor that’s perfect for the holiday season. This variation adds a festive twist to the classic recipe.
Gluten-Free and Vegan Options
- Gluten-Free: Substitute the all-purpose flour with a gluten-free flour blend designed for baking. Look for a mix that substitutes cup-for-cup to make the transition seamless.
- Vegan: Use plant-based butter and dairy-free chocolate chips. For the eggs, a popular substitution is 1/4 cup of unsweetened applesauce or a commercial egg replacer equivalent to two eggs. These swaps ensure that everyone, regardless of dietary restrictions, can enjoy a batch of homemade cookies.
Perfect Pairings
Pairing your Toll House Cookies with the right beverage or dessert can elevate the entire eating experience. Here are a few suggestions:
- Milk: A classic pairing, the richness of the cookies is perfectly balanced by the cool freshness of milk.
- Coffee: For an adult twist, pair the cookies with a strong cup of coffee. The bitterness of the coffee contrasts delightfully with the sweetness of the cookies.
- Ice Cream: Sandwich a scoop of vanilla ice cream between two cookies for a decadent treat.
Exploring variations of the classic Toll House Cookie recipe allows bakers to cater to a wide range of tastes and dietary needs. Whether you’re adding nuts, experimenting with spices, or adapting the recipe for a gluten-free or vegan diet, these variations ensure that everyone can enjoy the timeless pleasure of a freshly baked chocolate chip cookie.
FAQs
Why are my Toll House Cookies always flat?
Flat cookies can result from several factors, including too much butter or sugar, butter that’s too soft, or not enough flour. Ensure your butter is at room temperature, not melted, and measure your flour accurately using the spoon-and-level method. Additionally, the dough’s temperature can affect spreading; chilling your dough for about 1 hour before baking can help maintain its shape, leading to thicker cookies.
Why is it called a Toll House Cookie?
The Toll House Cookie is named after the Toll House Inn, a restaurant in Whitman, Massachusetts, owned by Ruth Graves Wakefield and her husband. In the 1930s, Wakefield added pieces of a Nestlé chocolate bar to her cookie dough, creating the first chocolate chip cookies. They became a hit, and the recipe was published in a Boston newspaper. As part of the agreement to use the recipe, Nestlé provided her with a lifetime supply of chocolate chips, and the recipe was named after her inn, hence the name Toll House.
What are the ingredients in Toll House Cookie dough?
The classic Toll House Cookie dough recipe includes the following ingredients:
- All-purpose flour
- Baking soda
- Salt
- Unsalted butter (at room temperature)
- Granulated sugar
- Brown sugar
- Vanilla extract
- Eggs
- Semi-sweet chocolate chips
Optional ingredients like nuts can be added based on personal preference.
Should I chill Toll House Cookie dough before baking?
Yes, chilling your Toll House Cookie dough before baking is recommended. Chilling the dough solidifies the fat in the cookies. As the cookies bake, the fat takes longer to melt than it would at room temperature, reducing the cookies’ spread. This results in thicker, more textured cookies. Chill the dough for at least 1 hour, or even overnight, for the best results.


