In the heart of every kitchen lies the potential for something magical, and cool whip cookies embody this magic perfectly. These delightful treats have risen in popularity for their incredible simplicity, versatility, and, of course, delicious taste. This article is a tribute to cool whip cookies, aiming to guide you through everything from the basics of making them to serving and storing them correctly. We’ll explore various flavors, share tips for making your cookies stand out, and answer some of the most common questions bakers have. Whether you’re a seasoned baker or new to the kitchen, this guide promises to elevate your cookie game.
Part 1: The Basics of Cool Whip Cookies
What Are Cool Whip Cookies?
At their core, cool whip cookies are a testament to the beauty of baking. Originating as a delightful experiment in kitchens where bakers sought to simplify the cookie-making process, these cookies have become a staple for those who cherish both flavor and ease. Unique for their light, fluffy texture and the use of cool whip as a key ingredient, they offer a different experience from traditional cookies.
Essential Ingredients for Making Cool Whip Cookies
The beauty of cool whip cookies lies in their simplicity. Here’s what you need to create these little wonders:
- Cool Whip: The star of the show, cool whip, lends the cookies their distinctive light and airy texture.
- Cake Mix: A box of your favorite cake mix flavors – be it chocolate, vanilla, or lemon – provides a versatile base.
- Eggs: To bind everything together, ensuring your cookies maintain their shape and don’t crumble away.
- Flour: Just a bit, to adjust the dough’s consistency.
- Extras: Here’s where you can get creative – add chocolate chips, sprinkles, or a dash of your favorite extract to personalize your batch.
These components come together to create a dough that’s delightfully easy to work with, offering endless possibilities for customization. Whether you’re in the mood for rich chocolate cool whip cookies or light and zesty lemon ones, the basic recipe adapts beautifully to your cravings.
Part 2: Step-by-Step Guide to Making Cool Whip Cookies
Preparing Your Kitchen for Baking
Before we start mixing our ingredients, it’s crucial to get our baking station ready. Ensure you have all your ingredients on hand, preheat your oven to the recommended temperature (usually around 350°F or 175°C), and line your baking sheets with parchment paper. This preparation phase sets the stage for a smooth baking experience, minimizing mess and stress.
The Recipe: How to Make Cool Whip Cookies
Now, for the fun part—making the cookies! Follow these steps for a batch of delicious cool whip cookies:
- Mix the Ingredients: In a large bowl, combine the cool whip, cake mix, eggs, and any additional flavors or mix-ins. The dough will be sticky, so don’t be alarmed. If it’s too sticky to handle, chill it in the refrigerator for about 30 minutes.
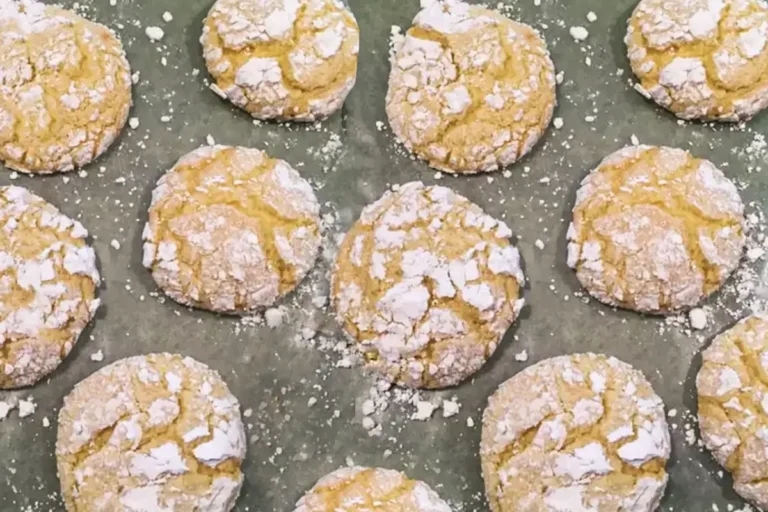
- Shape the Dough: Use a spoon or a cookie scoop to form small balls of dough. Roll these balls in powdered sugar to coat them thoroughly. This not only adds a sweet finish but also helps prevent sticking.
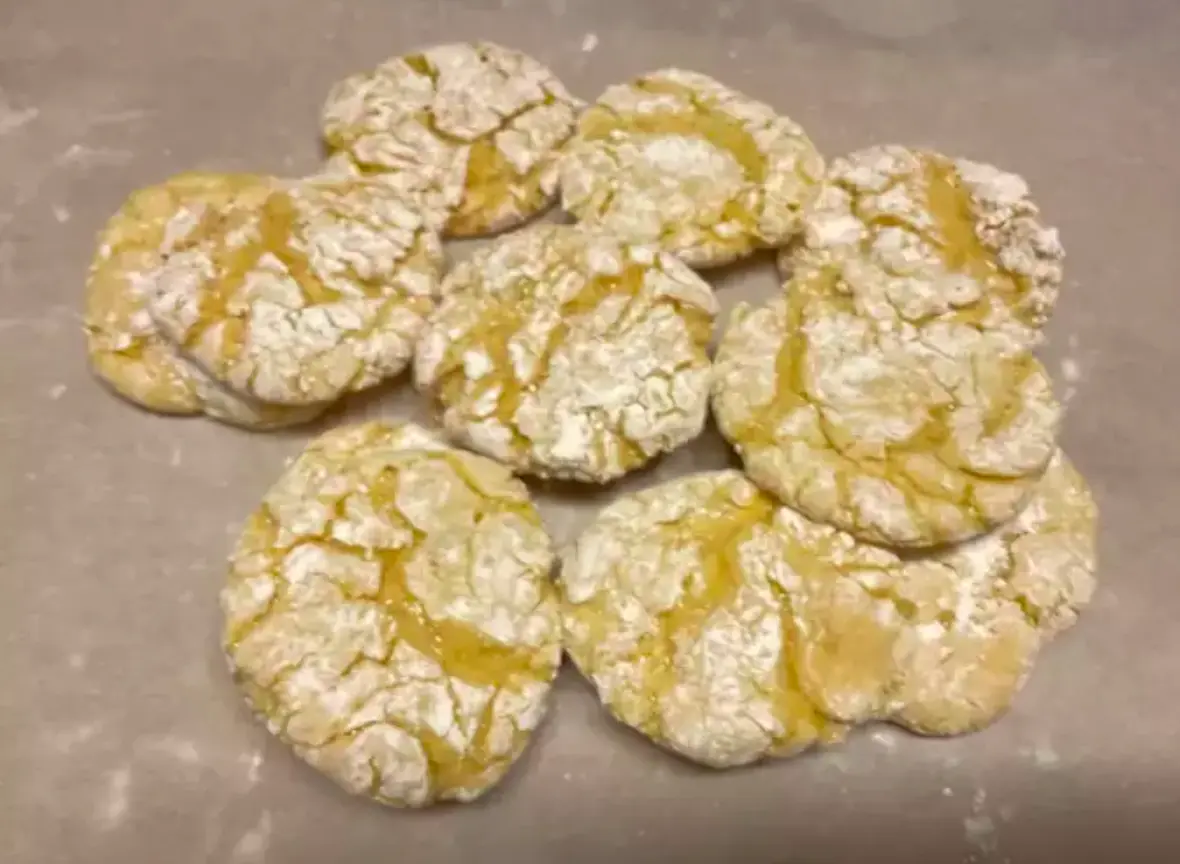
- Bake: Place the dough balls on your prepared baking sheets, leaving enough space between them for slight spreading. Bake in the preheated oven for 10-12 minutes, or until the edges are set but the centers remain soft.
- Cool: Allow the cookies to cool on the baking sheet for a few minutes before transferring them to a wire rack to cool completely. This resting period helps solidify the perfect cookie texture.
Baking Tips and Tricks
To ensure your cool whip cookies turn out just right, keep these tips in mind:
- Don’t Overmix: Overmixing the dough can lead to tough cookies. Mix just until the ingredients are combined.
- Chill If Needed: If the dough becomes too soft to handle, a short stint in the refrigerator can make it easier to work with.
- Keep an Eye on the Oven: Baking times may vary slightly depending on your oven and the size of your cookies. Watch for the edges to set as a sign they’re done.
This part of our guide has walked you through the steps to create your own batch of cool whip cookies, from preparing your kitchen to pulling perfectly baked cookies out of the oven. With these tips and tricks up your sleeve, you’re well on your way to becoming a cool whip cookie connoisseur. In the next section, we’ll explore how to take your cookies to the next level with different flavors and personal touches. Stay tuned!
Part 3: Variations of Cool Whip Cookies
Cool whip cookies are a fantastic canvas for culinary creativity, allowing you to explore a myriad of flavors and customizations. Let’s delve into how you can make your batch of cookies uniquely yours.
Exploring Different Flavors
The versatility of cool whip cookies lies in their ability to adapt to various cake mix flavors, offering endless possibilities:
- Chocolate: For a rich, decadent treat, use a chocolate cake mix. You can elevate the chocolatey goodness by adding chocolate chips or a swirl of peanut butter.
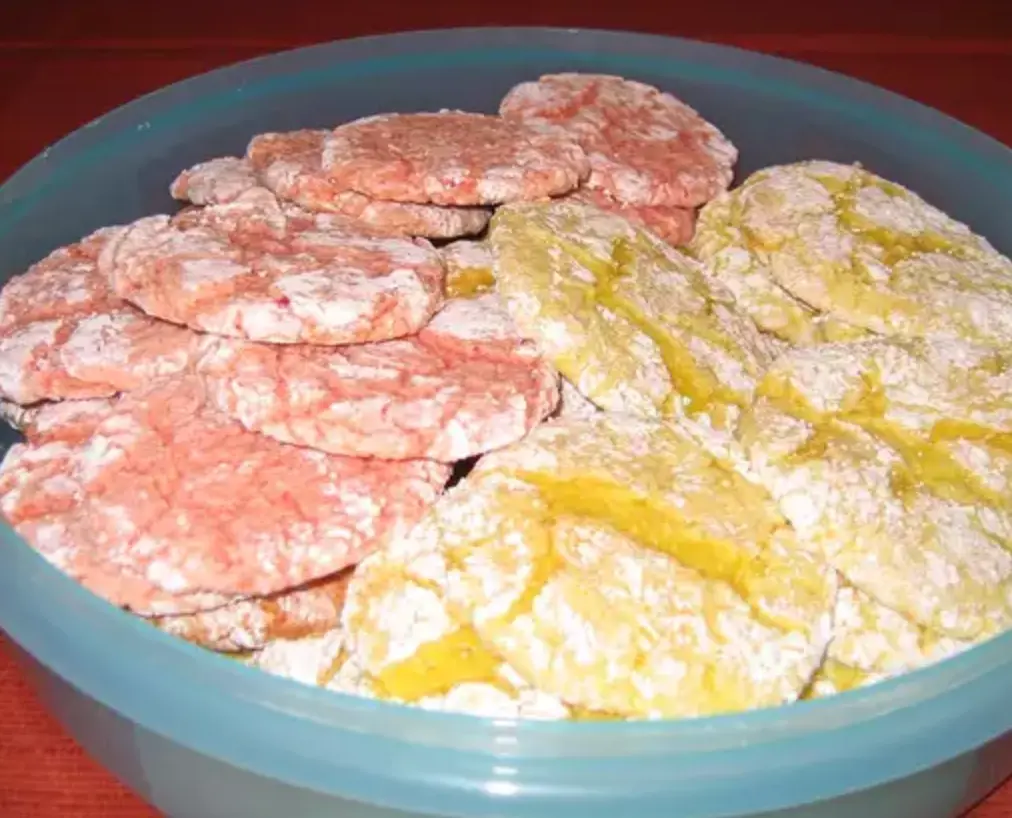
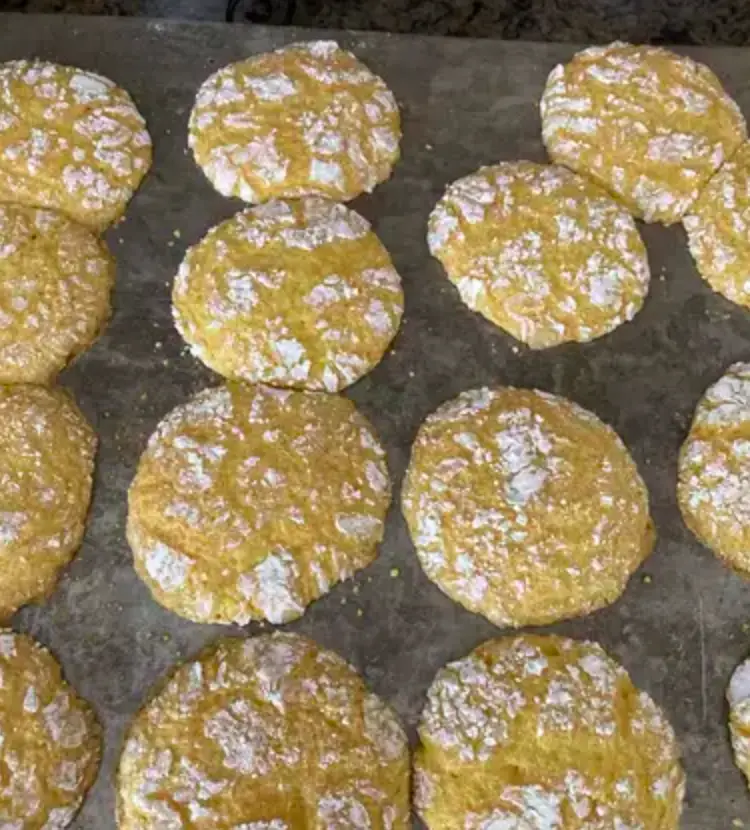
- Lemon: A box of lemon cake mix creates refreshingly zesty cookies, perfect for a light dessert. Adding a sprinkle of lemon zest on top before baking can enhance the flavor.
- Red Velvet: Red velvet cake mix gives the cookies a beautiful color and a classic flavor that’s hard to resist, especially when paired with white chocolate chips.
- Funfetti: For a fun, festive look and taste, opt for a funfetti cake mix. The colorful specks inside the cookie and the sweet flavor make it a hit, especially with kids.
Adding Your Personal Touch
Customizing your cool whip cookies doesn’t stop at choosing the cake mix. Here are some ideas to make your cookies stand out:
- Mix-Ins: Beyond chocolate chips, consider nuts for a crunchy texture, dried fruit for a chewy contrast, or candy pieces for a sweet surprise.
- Toppings: Before baking, sprinkle your cookies with coarse sea salt for a sweet-salty flavor profile, or add a glaze post-baking for extra sweetness.
- Flavor Extracts: A dash of vanilla, almond, or mint extract can transform the overall flavor of your cookies, giving them a professional touch.
Experimenting with these variations allows you to cater to different tastes and occasions, making those cookies a versatile option for any baker’s repertoire.
As we wrap up this section, it’s clear that the possibilities with those cookies are nearly endless. By starting with the basic recipe and incorporating various flavors, mix-ins, and personal touches, you can create a cookie that’s uniquely yours. Up next, we’ll tackle how to best serve and store your freshly baked cookies to ensure they remain delicious for days to come. Stay tuned for more tips and tricks in the delightful world of cool whip cookies.
Part 4: Serving and Storing Cool Whip Cookies
After mastering the art of baking and customizing cool whip cookies, the final steps involve presenting them in the best light and ensuring their freshness lasts. Here’s how to do just that.
Best Ways to Serve Cool Whip Cookies
Presentation can make a significant difference in how your cookies are received. Consider these ideas to impress your guests or simply make your snack time a bit more special:
- On a Platter: Arrange your cookies on a decorative platter or cake stand. Use doilies or parchment paper for an added touch of elegance.
- With a Side of Ice Cream: Cool whip cookies pair wonderfully with a scoop of ice cream. Serve them alongside your favorite flavor for a delightful dessert.
- As Sandwich Cookies: Take two cookies and add a layer of frosting, whipped cream, or even more cool whip in between for a decadent sandwich cookie.
Storage Tips for Freshness
Ensuring your cool whip cookies stay fresh and delicious is key. Follow these storage tips:
- Cool Completely Before Storing: Wait until your cookies are completely cooled before you store them. This prevents condensation inside the container, which can lead to soggy cookies.
- Airtight Containers: Store your cookies in an airtight container to keep them fresh. Layering them with parchment paper can help maintain their texture.
- Room Temperature or Refrigerate: Cool whip cookies can be stored at room temperature for a few days. For longer storage, consider refrigerating them, especially if they contain fillings or frosting that might spoil.
- Freezing for Longevity: For long-term storage, cool whip cookies freeze well. Place them in a single layer on a baking sheet to freeze individually, then transfer to a freezer-safe bag or container. They can last up to 3 months frozen.
By serving your cool whip cookies with a touch of creativity and storing them properly, you can extend the enjoyment of your baking efforts. Whether you’re sharing them at a gathering, enjoying them as a personal treat, or saving them for later, these tips ensure your cookies remain as delightful as the day they were baked.
In this guide, we’ve explored the joyful journey of making cool whip cookies, from understanding their basics to mastering the baking process, embracing variations, and ensuring their longevity through proper serving and storage. Cool whip cookies not only offer a delicious treat but also provide a canvas for creativity and expression in the kitchen. So, go ahead, experiment with flavors and presentations, and most importantly, enjoy the process and the results. Happy baking!
You can watch this video for more details:
FAQs About Cool Whip Cookies
Why did my Cool Whip cookies go flat?
There are a few reasons why Cool Whip cookies might go flat during baking. One common cause is the dough being too warm before it hits the oven, which can make it spread too quickly. To prevent this, you can chill the dough for about 30 minutes before baking. Another factor could be an excess of liquid in the dough, which might happen if the Cool Whip or eggs were larger than the recipe accounted for, altering the balance of wet to dry ingredients. Lastly, ensure your baking powder is fresh, as expired leaveners can lose their effectiveness, resulting in flat cookies.
What is Cool Whip equivalent in the UK?
In the UK, Cool Whip, a whipped topping product popular in the United States, doesn’t have a direct equivalent sold under the same name. However, you can substitute it with similar products like Dream Topping. Though Dream Topping requires preparation with milk and sugar, it offers a somewhat similar texture and flavor. Alternatively, whipped double cream can be used for a more natural substitute, though it’s heavier in fat and lacks the stabilizers found in Cool Whip.
What is Cool Whip made from?
Cool Whip is a whipped topping product that’s made from water, hydrogenated vegetable oils (such as coconut and palm kernel oils), high fructose corn syrup, corn syrup, skim milk, light cream, and less than 2% of sodium caseinate (a milk derivative), natural and artificial flavor, xanthan and guar gums, polysorbate 60, sorbitan monostearate, and beta carotene (for color). This combination of ingredients gives Cool Whip its light, fluffy texture and sweet taste, making it a popular choice for desserts.
What is Cool Whip vs whipped cream?
Cool Whip and whipped cream are both popular toppings for desserts, but they differ significantly in composition and taste. Cool Whip is a manufactured product containing a mix of ingredients that include oils, sweeteners, and stabilizers, giving it a longer shelf life and a stable form that can withstand sitting out at room temperature for longer periods. Whipped cream, on the other hand, is made by whipping heavy cream until it becomes light and fluffy. It has a richer taste and contains fewer additives but is more perishable and can quickly lose its form if not kept cold.
How long do Cool Whip cookies last?
They can last for up to a week when stored properly in an airtight container at room temperature. If you’re looking to extend their shelf life, you can refrigerate them, where they’ll stay fresh for up to two weeks. For even longer storage, they freeze well. Place them in a single layer on a baking sheet to freeze individually, then transfer to a freezer-safe bag or container. In the freezer, they can last for up to three months. When you’re ready to enjoy them, simply let them thaw at room temperature on a wire rack.