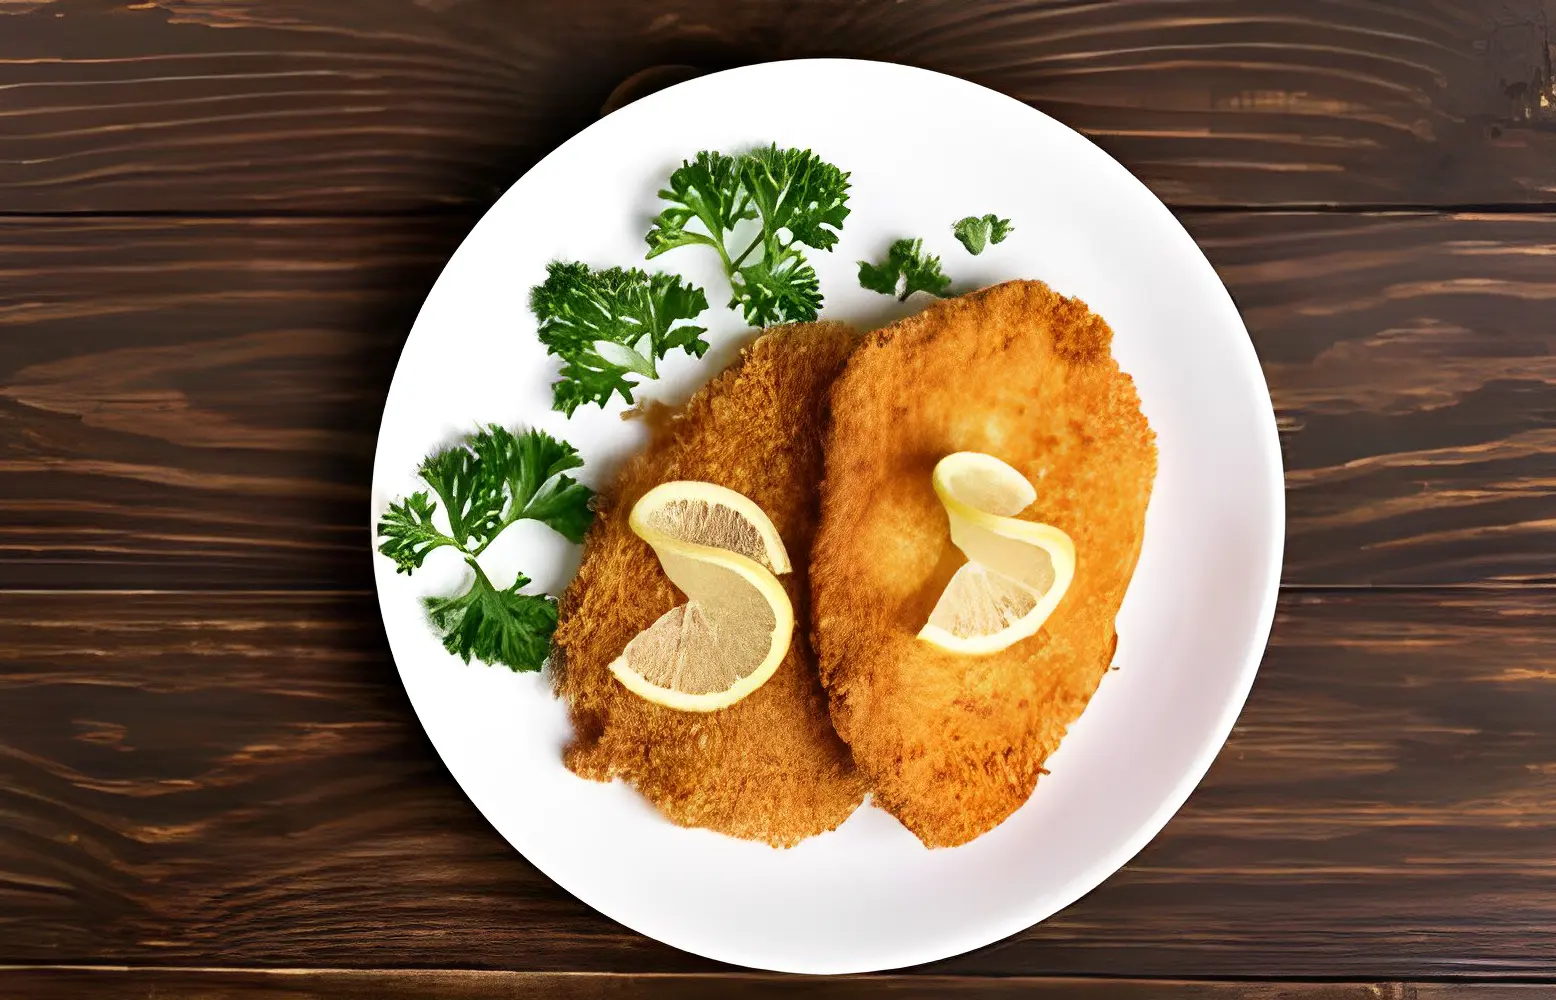
Navigating the kitchen can sometimes feel like an adventure, especially when you’re trying to perfect a dish like baked thin chicken breast. This lean cut of poultry is beloved for its quick cooking time and versatility, yet many home cooks hesitate, fearing they’ll end up with dry, flavorless meat. Fear not! This comprehensive guide is designed to dispel those fears, offering step-by-step instructions to ensure your chicken comes out juicy, flavorful, and perfectly cooked every time.
From understanding the importance of preparation to mastering the art of seasoning, we’ll cover all the bases, ensuring you have the knowledge and confidence to make this dish a staple in your culinary repertoire. Plus, we’ll dive into some FAQs to tackle common concerns and provide you with a treasure trove of tips to elevate your chicken game. So, preheat your ovens, and let’s get started on this journey to deliciousness.
Introduction to Baking Thin Chicken Breast
Baking thin chicken breast might seem straightforward, but achieving that perfect balance of juiciness and flavor requires a bit of know-how. The process begins long before the chicken hits the oven, starting with the selection of quality meat and the right preparation techniques.
Selecting Your Chicken
Choosing the right chicken breast is the first step toward a delicious meal. Opt for cuts that are uniform in size to ensure even cooking. If possible, select organic or free-range chicken for the best flavor and texture.
Preparation Is Key
Before you even think about seasoning, your chicken needs a little TLC. This involves slicing and pounding your chicken to the ideal thickness, which not only helps it cook evenly but also tenderizes the meat, setting the stage for a mouthwatering result.
- Slicing: Carefully slice each breast horizontally to create two thinner cutlets. This increases the surface area, allowing for more even cooking and seasoning coverage.
- Pounding: Using a meat mallet or rolling pin, gently pound the cutlets between two pieces of plastic wrap or parchment paper to an even thickness of about ½ inch. This step is crucial for uniform cooking and optimal texture.
Pro Tip: Don’t skip the pounding step! It might seem like extra work, but it’s the secret to tender, evenly cooked chicken.
With your chicken prepped and ready to go, you’re well on your way to baking perfection. Stay tuned as we delve into the art of seasoning, where we’ll explore how simple ingredients can transform your chicken into a culinary masterpiece.
Seasoning Your Thin Chicken Breast
 Once your chicken is prepped, it’s time to add some flavor. Seasoning your thin chicken breast properly can make the difference between a dish that’s merely okay and one that’s mouthwatering. Let’s dive into how to season your chicken for maximum flavor.
The Basics of Seasoning
At its simplest, seasoning chicken can be as straightforward as using salt and pepper. However, the real magic happens when you start to experiment with different herbs and spices. Here are some basic yet effective seasoning tips:
- Salt and Pepper: Never underestimate the power of salt and pepper. They enhance the natural flavors of the chicken and should be your base for any seasoning blend.
- Garlic Powder and Onion Powder: These two powders add depth and a hint of sweetness that complements the chicken’s savory notes.
- Paprika: For a touch of warmth and color, paprika is your go-to. Smoked paprika can add a delightful depth of flavor.
- Dried Herbs: Thyme, rosemary, oregano, and basil all work wonderfully with chicken. Mix and match to find your favorite combination.
Creating a Marinade
For those who love their chicken extra juicy and flavorful, marinating is the way to go. A good marinade not only seasons the chicken but also tenderizes it, making each bite succulent and delicious. Here are a few simple marinade ideas:
- Lemon-Herb Marinade: Combine olive oil, lemon juice, minced garlic, and a selection of dried herbs for a bright and fresh flavor.
- Balsamic Vinegar Marinade: Balsamic vinegar, olive oil, honey, and a dash of Italian seasoning create a sweet and tangy marinade that’s hard to resist.
- Spicy Marinade: Mix olive oil with chili powder, cumin, and a bit of lime juice for a marinade with a kick.
Remember: Allow your chicken to marinate for at least 30 minutes, or overnight in the refrigerator for deeper flavor penetration.
Applying Your Seasoning
Whether you’re using a dry rub or a wet marinade, ensure your chicken is coated evenly. For dry seasonings, sprinkle generously on both sides of the chicken and rub it in. For marinades, ensure the chicken is fully submerged or coated, and let it sit to absorb the flavors.
Pro Tip: If you’re short on time, even a quick brush of olive oil followed by your chosen seasonings can make a world of difference.
With your chicken seasoned to perfection, you’re ready to move on to the baking process, where all your preparation and seasoning efforts will come to fruition. Stay tuned for tips on how to bake your chicken to perfection, ensuring a dish that’s not only flavorful but also beautifully cooked.
Baking Your Seasoned Thin Chicken Breast
After meticulously preparing and seasoning your thin chicken breast, it’s time for the main event: baking. This stage is where the flavors meld and the chicken transforms into a tender, juicy delight. Here’s how to ensure your chicken comes out perfectly every time.
Preheating Your Oven
- Start by preheating your oven to 375°F (190°C). A properly preheated oven is crucial for even cooking and achieving that desirable texture in your chicken.
Preparing Your Baking Dish
- Lightly coat a baking dish with olive oil or a non-stick cooking spray to prevent the chicken from sticking. If you prefer, you can also line the dish with parchment paper for even easier cleanup.
Arranging the Chicken
- Place your seasoned chicken breasts in the baking dish in a single layer, ensuring they’re not overcrowded. This allows hot air to circulate each piece, cooking them evenly and preventing steam from making the chicken soggy.
Baking Time
- Bake the chicken in the preheated oven for 15-20 minutes. The exact time will depend on the thickness of your cutlets. Thin chicken breasts cook quickly, and overcooking can lead to dryness.
- Halfway through the baking time, you can flip the chicken breasts to ensure they brown nicely on both sides, although this isn’t strictly necessary if your chicken is very thin.
Checking for Doneness
- The safest way to check if your chicken is cooked through is to use a meat thermometer. The internal temperature should reach 165°F (74°C) at the thickest part of the breast.
- Another sign of doneness is when the juices run clear, and the meat is no longer pink in the center.
Resting
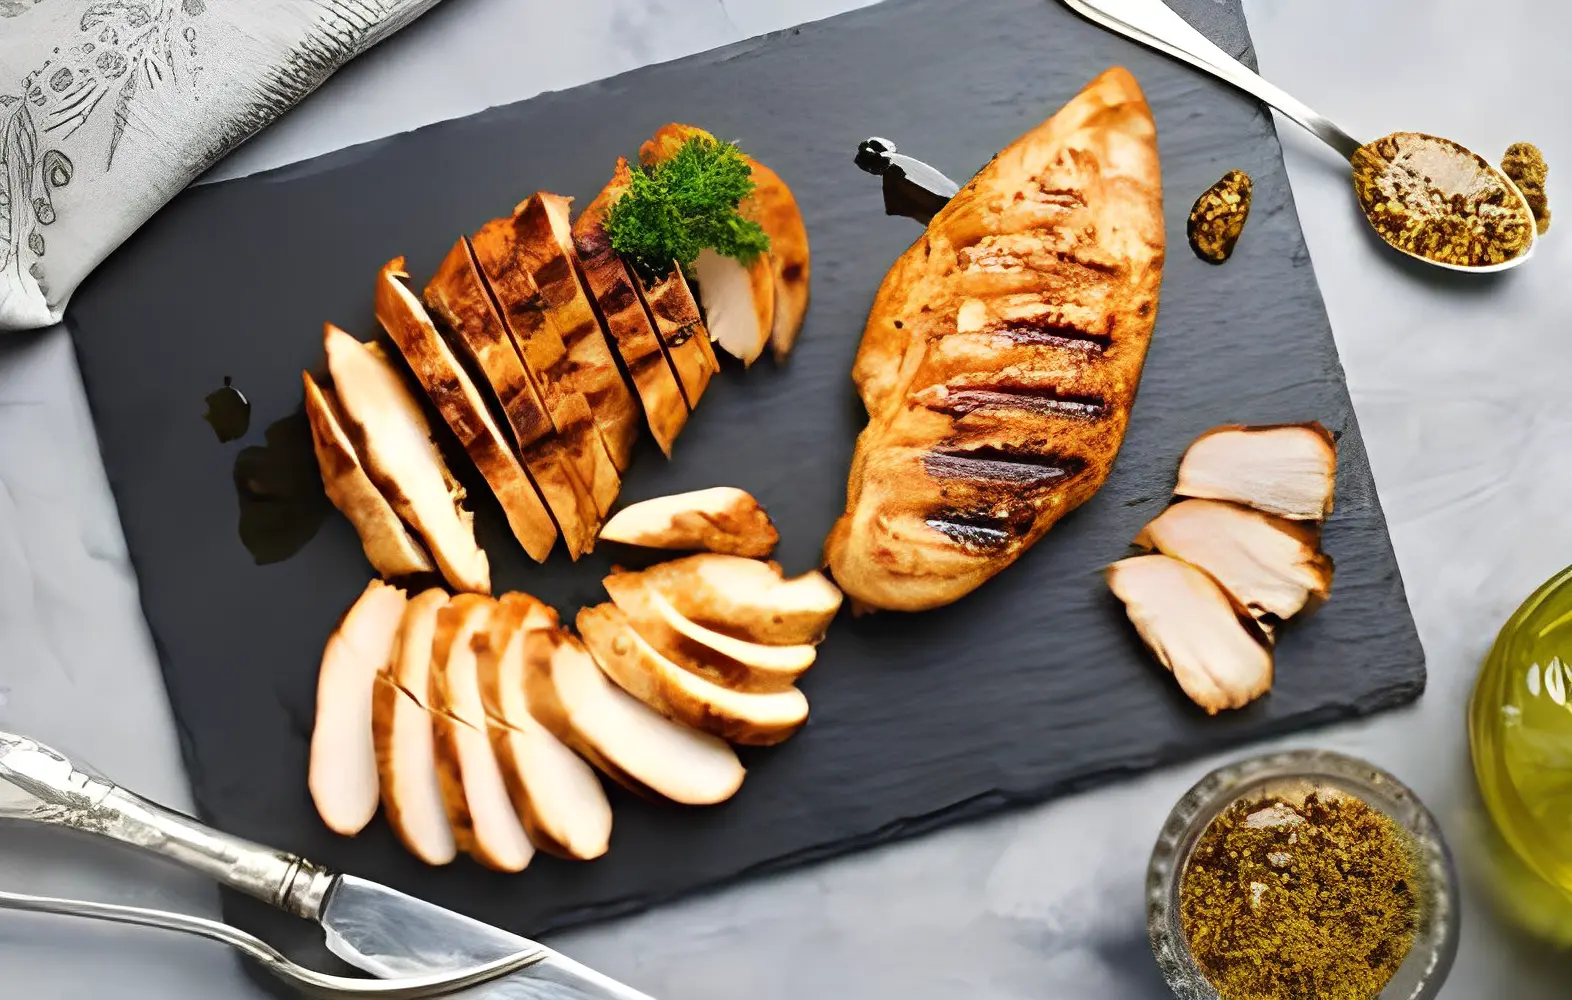
- Once removed from the oven, let your chicken rest for a few minutes before slicing. This allows the juices to redistribute throughout the meat, ensuring your chicken is moist and flavorful when you cut into it.
Pro Tip: To add a bit of extra flavor and moisture, you can cover the chicken with foil for the first half of the baking time. This traps steam and can help prevent the chicken from drying out. Just remember to uncover it for the remainder of the cooking time to allow the outside to brown and crisp up a bit.
With these steps, you’ll have perfectly baked thin chicken breasts that are juicy, flavorful, and ready to be enjoyed. Whether you’re serving them as the main protein in a meal, slicing them for salads, or using them in wraps, these chicken cutlets are sure to be a hit. Stay tuned for serving suggestions and creative ways to enjoy your beautifully baked chicken.
Serving Suggestions and Creative Uses
Congratulations! Your baked thin chicken breast is now ready to be served. This versatile protein can be the star of your meal in numerous ways. Whether you’re looking for a simple weeknight dinner or something a bit more elaborate, here are some serving suggestions and creative uses for your perfectly baked chicken.
Simple and Classic Pairings
- With Vegetables: Serve your chicken alongside roasted or steamed vegetables for a healthy, balanced meal. Consider colorful options like green beans, carrots, or a medley of bell peppers to make the plate visually appealing.
- Over Rice or Quinoa: Lay your chicken cutlet over a bed of fluffy rice or quinoa. The grains will soak up any juices, making for a delicious and satisfying dish.
- With Pasta: Slice your chicken and serve it atop your favorite pasta. A light lemon butter sauce or a classic marinara can complement the chicken beautifully.
Creative Culinary Creations
- Chicken Caesar Salad: Slice your baked chicken and add it to a Caesar salad for a protein-packed lunch or dinner. The crisp lettuce, creamy dressing, and crunchy croutons make for a delightful combination.
- Chicken Wraps or Tacos: For a casual and customizable meal, use your chicken in wraps or tacos. Add your favorite toppings like lettuce, tomato, cheese, and avocado for a quick and tasty option.
- Chicken Parmesan: Transform your baked chicken into a quick chicken Parmesan by topping it with marinara sauce and a generous sprinkle of mozzarella cheese. Broil for a few minutes until the cheese is bubbly and golden.
Meal Prep and Storage
Baked chicken cutlets are ideal for meal prep. They can be cooked in advance, stored in the refrigerator, and used in various dishes throughout the week. Here’s how to store them:
- Refrigeration: Cool your chicken completely before transferring it to an airtight container. It will keep in the fridge for up to 3-4 days.
- Freezing: For longer storage, wrap each chicken cutlet individually in plastic wrap and then place them in a freezer bag. They can be frozen for up to 3 months. Thaw in the refrigerator overnight before reheating.
Reheating
To reheat, place the chicken in a covered dish in a 350°F oven until warmed through. This method helps retain moisture, ensuring your chicken remains juicy.
Pro Tip: If you’re looking for a quick lunch, cold-baked chicken can be sliced and added to salads or sandwiches without the need for reheating.
With these serving suggestions and creative uses, your baked thin chicken breast can be enjoyed in countless delicious ways. From the simplicity of a classic pairing to the creativity of a new culinary creation, there’s no limit to how you can enjoy this versatile dish.
FAQs
In the journey of mastering the perfect baked thin chicken breast, questions are bound to arise. Let’s address some of the most frequently asked questions to ensure your culinary experience is as smooth and enjoyable as possible.
How Can I Ensure My Chicken Doesn’t Dry Out in the Oven?
To keep your chicken moist and juicy:
- Avoid overcooking by using a meat thermometer to check for doneness, aiming for an internal temperature of 165°F (74°C).
- Consider baking the chicken covered with foil for part of the cooking time to trap moisture.
- Let the chicken rest for a few minutes after baking to allow juices to redistribute.
Can I Season My Chicken in Advance?
Yes, seasoning your chicken in advance can enhance the flavor. You can season or marinate your chicken up to a day ahead and store it in the refrigerator until you’re ready to bake. This extra time allows the seasonings to penetrate the meat more deeply.
What’s the Best Way to Reheat Leftover Chicken Without Drying It Out?
To reheat leftover chicken:
- Preheat your oven to 350°F (175°C).
- Place the chicken in a baking dish and add a splash of water or chicken broth to the dish to help maintain moisture.
- Cover the dish with foil and heat until the chicken is warmed through, about 10-15 minutes.
Can I Use This Method for Other Types of Chicken Cuts?
This baking method is ideal for thin cuts of chicken for quick, even cooking. For thicker cuts like bone-in chicken breasts or thighs, you’ll need to adjust the cooking time accordingly. Thicker cuts will require longer in the oven to reach the safe internal temperature of 165°F (74°C).
How Can I Add More Flavor to My Chicken?
In addition to seasoning and marinating, consider:
- Adding a glaze in the last few minutes of baking. A mixture of honey and Dijon mustard or balsamic vinegar can create a flavorful glaze.
- Serving the chicken with a sauce or salsa. A fresh chimichurri or a tangy barbecue sauce can add layers of flavor to your dish.
- Incorporating fresh herbs or a squeeze of lemon juice after baking for a bright, fresh finish.
With these FAQs addressed, you’re now equipped with the knowledge to bake perfect thin chicken breasts every time. Remember, cooking is as much about the journey as it is about the destination. So, don’t be afraid to experiment with flavors, seasonings, and techniques to find what works best for you. Happy cooking!

 Once your chicken is prepped, it’s time to add some flavor. Seasoning your